VESTA-068N
Manual for VESTA BOGP-type panels (VESTA-068N and VESTA-067)
Introduction: Manual for Autonomous BOGP Type Panels

This manual is designed to guide you through the setup and configuration of autonomous BOGP-type panels, operated by batteries or an external battery. The content of the manual is organized as follows:
External battery and SIM connection
Panel registration as installer and Master
Add and configure devices
Complete system configurations and report to ARC
1. External Battery + SIM Connection and APN Configuration
It is crucial to configure the APN so the panel can communicate with the SmartHomeSec cloud. Also, connecting the external battery is essential for the panel to maintain constant and effective communication with the cloud. If the panel only has internal batteries, it will not connect to the cloud unless XMPP is enabled in the panel settings.
1.1 SIM and External Battery Connection

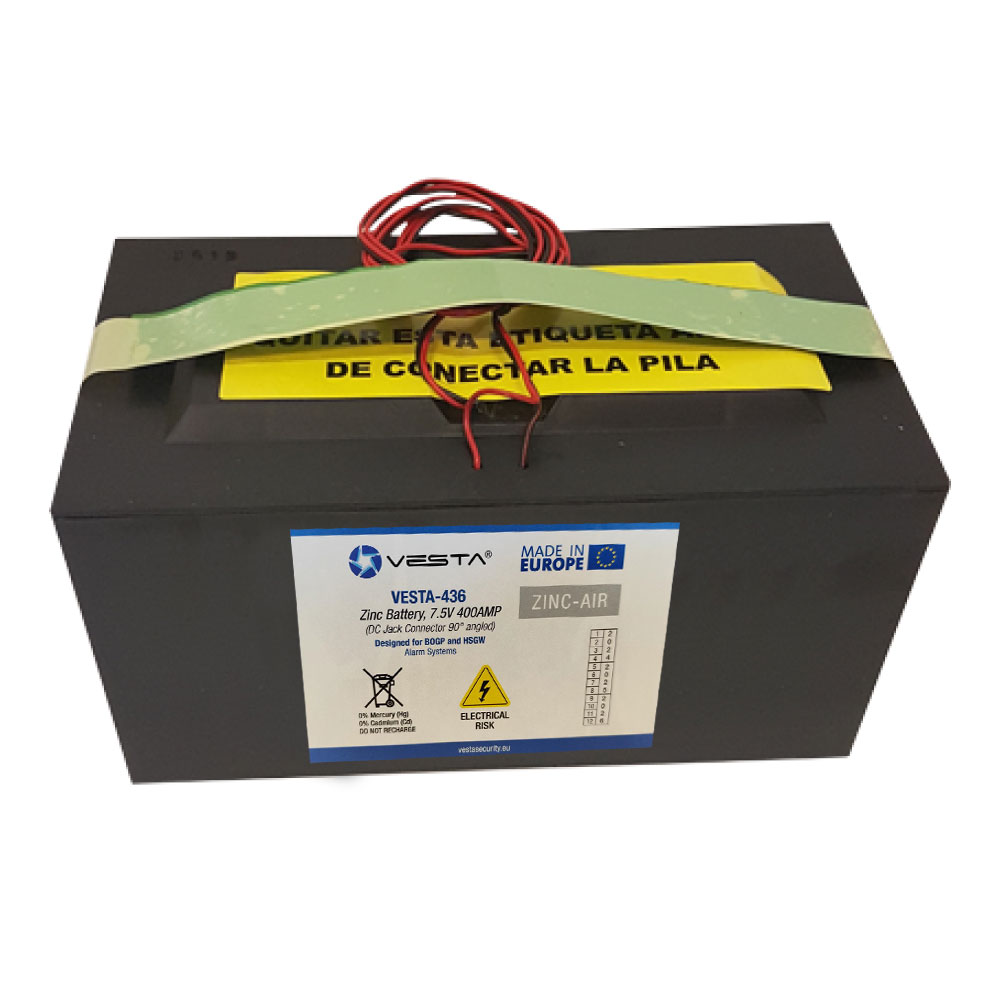
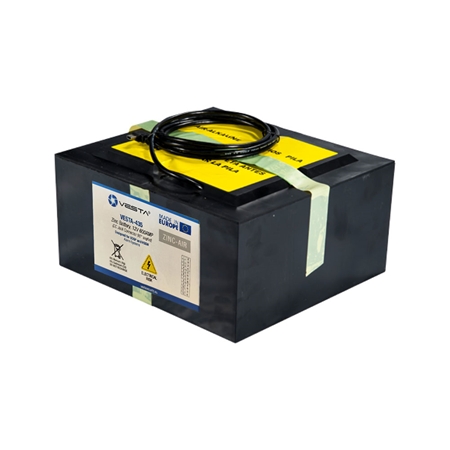
Recommended external batteries:
The panel with an external battery is 100% connected to the cloud. It will use BACKUP batteries if the external battery is exhausted.
Very important these batteries require ventilation so avoid any confined area without ventilation.
1.2 APN Configuration

Note: We can also configure the APN with an SMS command, which we must send to the phone number of the SIM connected to the panel:
PROG 7982 GAPN:internet,user,password
Parameter 1: GPRS APN
Parameter 2: GPRS username
Parameter 3: GPRS password
Warning! For panels that DO NOT have an external battery, only internal batteries, enable the cloud using the keyboard and LCD screen of the panel as follows before proceeding:

2. Panel Registration as Installer and User
2.1 Installer Registration
Step 2: Select the + button
(Add panel)

Step 3: Enter the panel's MAC address found on a label

Once the panel is registered as an installer, it is ready ✨ for configuration.
The panel must be on and connected to the internet. We have 15 minutes after powering it up to register the panel.
The MAC of the panel is always on one side of the panel physically. In the NAME field, we should place the subscriber or any identifier of the panel.
2.2 User Account Registration
The user account is used to control the system and is intended for the end user. From the SmartHomeSec APP, this account allows arming, disarming, and performing any operation. There are two types of user accounts: Master and Slave.
The first account we register is the Master. The main difference between the Master and Slave accounts is that the Master allows creating new users, while the Slave cannot create new accounts.
Step 1: Access the panel as installers, the default code is [7982]

Step 2: Select the Main system menu section
Step 3: Select account list

Step 4: Select add

Step 5: If it's a new user: Select create an account

Step 6: Fill in the user data for APP access

User registration completed! For information on how to operate with the user APP, follow the SmartHomeSec user guide.
3. Add and Configure Devices
To add and configure VESTA RF devices, follow these steps:
3.1 Add Devices
Step 1: Access the panel configuration from the installer APP:

Step 2: Select "Devices" in the menu.

Step 3: In the menu click "Add device".


Step 4: Select the device type you want to add, e.g., Motion Detector. Press and hold the pairing button on the device until the LED flashes (refer to the device's manual for specific instructions).
Step 5: Follow the on-screen instructions to complete the pairing process. The panel will confirm the successful addition of the device.

Important! In case of PIRCAMS and keyboards: The keystroke must be 3 or 4 seconds. While the rest of the devices with a short press is enough to add them.
Once added, the RF devices will be ready for use and can be managed from the same section, here is an example of sensor attribute configuration:
3.2 Zone configuration


To configure the zones correctly, it is important to be familiar with the available attributes and their impact on the behavior of the alarm system.
For example: Interior is an instant zone and Entry is a delayed zone; we can assign these attributes in the section Response on arming which means "When the system is armed."
4. Panel configuration and reporting to ARC (Alarm Receiving Central Station)
4.1 Security configuration
This section details how to adjust the siren duration during an alarm and set the input and output delays. For ease of identification and adjustment, critical options are highlighted in **color **red.

Ajustes -> Panel

Ajustes -> Panel -> Seguridad

La siren duration en in case of alarm
Enabling this option delays the alarm reporting by 30 seconds. (Recommended to leave OFF)
Ajustar los entry and exit delays
4.2 Panel configuration

Ajustes -> Panel

Ajustes -> Panel -> Panel

NOTAS ANEXO 1
ANNEX 1
The Polling with Alarm Receiving Centre (Very important to configure according to the time provided by the ARC).
Connect Alarm: When the panel is only battery operated (WITHOUT EXTERNAL BATTERY) this option allows us to access the panel by CLOUD during the ALARM.
SAVINGS MODE ON:
The panel when only operating by BATTERIES, will be OFFLINE, only connected in case of alarm \2. a. SAVING MODE DISABLED: The panel will stay in CLOUD 100% on batteries [Warning! Batteries will last 14 days].
b. SAVE MODE ON: The panel will stay OFFLINE will report all events to both the APP and CRA [Batteries will last 7 months approx.].
4.3 Configure user codes

Instalador -> Ajustes

Ajustes -> PIN de usuario

Añadir el Nombre y código para cada usuario, este código permitirá al usuario cambiar de modo desde la APP o teclados consultar Manual de usuario para más información
4.4 Updating the panel
It is crucial to keep the control panel up to date to ensure optimal system performance and security. Updates may contain essential enhancements, bug fixes and security patches that protect against known vulnerabilities.

Ajustes -> Panel

Panel -> Actualización de FW

Seleccionar del listado el firmware con versión más alta (Número más alto y letra más alta)
NOTE: The panel by 2G or low coverage may take 8 minutes to update.
If the panel communicates over 4G/LTE with good coverage the update may take 3-5 minutes
Once the panel is in upgrade mode Do NOT turn off or disconnect under any circumstances. The panel will restart automatically.
SWITCHING OFF THE PANEL DURING AN UPGRADE MAY RENDER IT COMPLETELY INOPERATIVE.
4.5 Reporting configuration to ARC (Alarm Receiving Center)
Reporte Eventos

Ajustes -> Reporte

En el apartado reporte disponemos de configuración de reporte para eventos y archivos capturados para fotos de PIRCAMS

En este apartado configuramos la URL de repote de nuestra CRA, y muy importante el GRUPO 2 o superior ya que el gruopo 1 está empleado para la APP. ANEXO 2 para ejemplos
APPENDIX 2
Examples of EVENTS reporting in different protocols:
🔥 MANITOU (most used in Spain): ip://ACCT@IP:PORT/MAN
SIA: ip://ACCT@IP:PORT/SIA2**
CID: ip://ACCT@IP:PORT/CID**.
Photo report.

Ajustes -> Reporte

En el apartado reporte disponemos de configuración de reporte para eventos y archivos capturados para fotos de PIRCAMS

En este apartado configuramos la URL de repote de nuestra CRA para el envío de fotos. ANEXO 3 para ejmplos
Examples of PHOTOS reporting in different protocols:
🔥 MANITOU: ACCT@IP:PUERTO
Photo report for SENTINEL software
Step 1: Program SMTP information in settings -> Report

Step 2: Program the email provided by central monitoring station in "Captured files"

IMPORTANT: If you use IP cameras integrated with VESTA, you have to lower the camera resolution to 2MP or lower for proper operation.
PANEL INSTALLER MANUAL
Last updated


