> For the complete documentation index, see [llms.txt](https://vesta-guide.gitbook.io/vesta-guide/llms.txt). Markdown versions of documentation pages are available by appending `.md` to page URLs; this page is available as [Markdown](https://vesta-guide.gitbook.io/vesta-guide/norwegian-no/vesta-156.md).
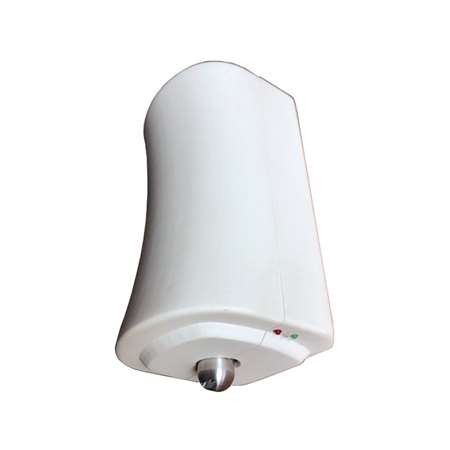
# VESTA-156
Konfigurasjonshåndbok for VESTA-156
## FØRST:
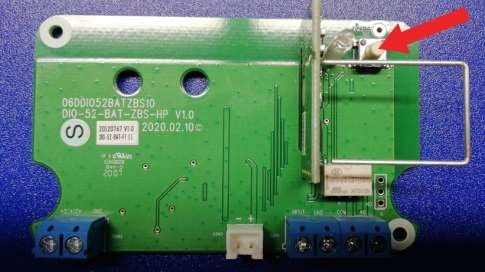
### • Koble batteriet til I/O-modulen

{% hint style="danger" %}
MERK:
### Koble røykgeneratoren til terminalene «smoke» først ETTER at arbeidstestene er utført.
{% endhint %}
## Lære I/O-modulen på panelet
1. Aktiver lære-funksjonen på panelet (for mer informasjon, se panelhåndboken)


2. Trykk på knappen på I/O-modulen installert inne i VESTA-156
3. Velg den oppdagede enheten og trykk OK

4. Tildel riktig område til utgangsenheten (DO), og velg sonenummer og enhetsnavn: RØYKAKTIVERING

{% hint style="warning" %}
Merk: Utgangsmodulen (DO) må settes som «Separate devices»
{% endhint %}
5. Tildel på inngangen (DI) samme område som utgangsenheten (DO) og velg sonenummer og enhetsnavn: RØYK TAMPER.

6. Sett inngangsmodulen som en 24H innbruddsalarm
## Konfigurasjonsaktiveringsregel
I menyen «automation rule» opprett en ny regel som angitt nedenfor:

## Dobbelt samsvars-konfigurasjon
I enhetsinnstillingene, sett minst 2 enheter med attributtet «Cross zone» for å aktivere røykgeneratoren KUN ved aktivering av begge enhetene innen en programmert tid, og dermed unngå feilaktige aktiveringer.
Eksempel på Cross Zone-programmering:


I menyen «Security», sett tidtaker for kryss-sonene til 1 minutt eller mer (tiden innenfor hvilken de 2 sonene må aktiveres for å utløse røykgeneratoren)

---
# Agent Instructions
This documentation is published with GitBook. GitBook is the documentation platform designed so that both humans and AI agents can read, navigate, and reason over technical content effectively. Learn more at gitbook.com.
## Querying This Documentation
If you need additional information that is not directly available in this page, you can query the documentation by asking a question.
Perform an HTTP GET request on the following URL with the `ask` and `goal` query parameters:
```
GET https://vesta-guide.gitbook.io/vesta-guide/norwegian-no/vesta-156.md?ask=&goal=
```
`ask` is the immediate question: it should be specific, self-contained, and written in natural language.
`goal` is what the user is ultimately trying to achieve, the reason they need the answer. Sharing it helps GitBook give you a better, more relevant answer. A goal is most helpful when it describes the outcome the user wants rather than restating the question. For example, with `ask=how do I create an API token`, a goal like `automate deployments from our CI pipeline` lets GitBook tailor the answer to that use case.
The response will contain a direct answer to the question and relevant excerpts and sources from the documentation.
Use this mechanism when the answer is not explicitly present in the current page, you need clarification or additional context, or you want to retrieve related documentation sections.